A single wardrobe is not enough for a family of three. Therefore, two side wardrobes were designed next to the window, connected by a large raised platform. With the help of the platform, it’s now possible to design the wardrobes to the ceiling and easily store items.
01 – Side Wardrobe (Left) The wardrobe also serves as a cover for various beams and columns inside the house. These structural elements make the overall cabinet design quite unique. To make full use of the space while ensuring convenience, this side wardrobe is designed to be deep, with an outer and inner layer. The outer door is on the front, and the inner door is on the side. A main frame is constructed to encase the column.
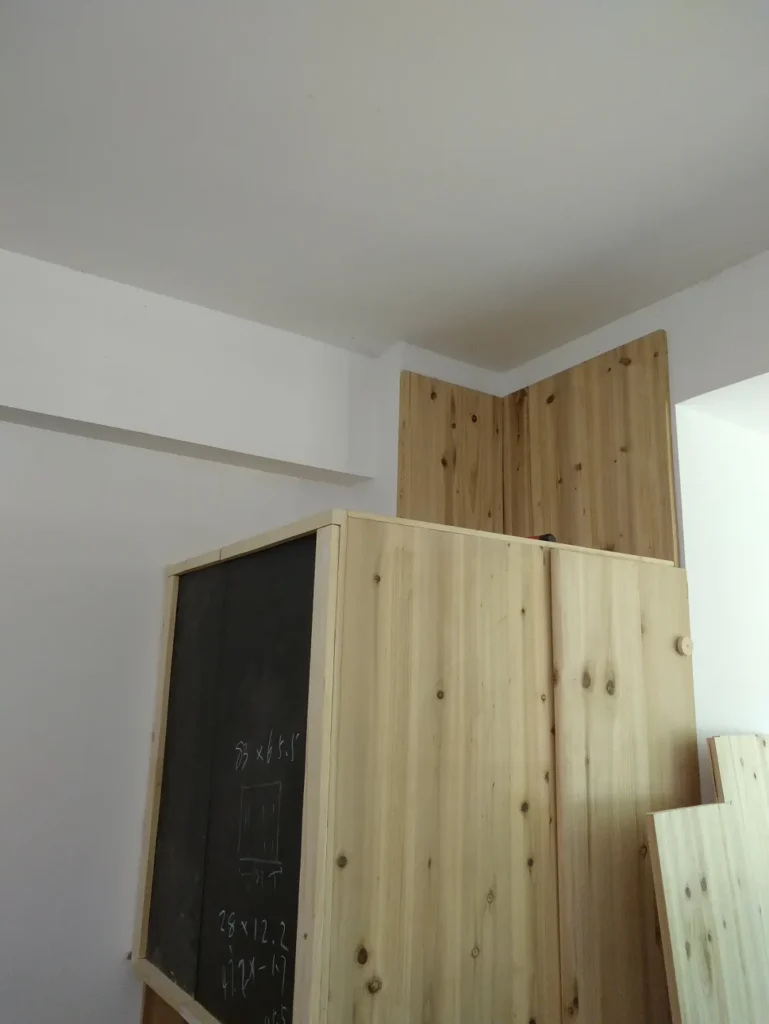
Next to the platform is the location of another side wardrobe. One of its panels is connected to the platform and also serves as a supporting side panel for the platform. Installing battens and covering with wall panels will make the entire platform look neater. Remove the wall socket and embed it in the wall panel. The wall panel installation is completed. Seal the corners and edges. Doesn’t it look much better now? Then, make a small staircase with storage function. Otherwise, how can one gracefully step onto the platform? Leave a gap as a handle. Place it and check. One more step is needed. Use the leftover corner pieces of the platform board to make one. The solid wood storage small staircase is done. Add a wooden drawer to the protruding second layer. One side of the double-glazed window on the bay window was broken by a naughty child. Too lazy to replace it, just add a small bookshelf here to cover it. Nail the legs of the bookshelf. The bookshelf is assembled and placed, perfectly covering the broken glass. It still looks quite nice. 02 – The side wardrobe on the right (right) The depth of the side wardrobe on the right is only half of that of the left wardrobe, which saves a lot of trouble. This side wardrobe is also used to cover the pillar on the right wall. The side panel is completed. Reserve the air conditioner hole on the bottom panel. Make a large top box. Fix the large box to the top of the wardrobe. The opening is on the side because the side is the platform, and it is very convenient to stand on it to pick up items. This is another benefit brought by the platform. The wardrobes on both sides can be designed to reach the ceiling without affecting the convenience of storage. Install the front cabinet door. Install the side cabinet door. At the same time, nail a false drawer. In fact, the inside is connected to the upper wardrobe. It only serves as a baffle for the wardrobe. This way, more folded clothes can be stored, and the cabinet door can be prevented from looking bulky. Make a real wardrobe drawer. The only drawer in the house with installed rails (due to its fragility, it was finally modified by me into a traditional wooden slide). The space under the drawer is left empty for storing suitcases. The right wardrobe is completed, and some improvements have also been made to the left wardrobe. Apply wood wax oil, and it becomes much more beautiful. After installing the air conditioner, apply tung oil several times again to deepen the color. Actually, the effect is not bad. I’m particularly satisfied with the reading area in the middle that can be used for sitting or lying down, which can meet various reading postures. The natural wood color is very warm. However, the large area of natural wood color still makes me feel a bit depressed. To eliminate this sense of oppression, I finally painted half of it white. This makes the space look much more open, and it can also be used by children for hand-painted graffiti in the future. There are many beams and columns in this room. Some beams and columns can be used cleverly, while many need to give full play to the advantages of DIY to cover them. The wardrobes on both sides serve such a purpose. And this large platform is especially loved by children. It has become her most relaxing reading place. The storage space under the platform is huge, which finally provides a place for my woodworking tools.
I’m really gratified to have such a large platform in my small apartment… The more you share, the happier you will be. Welcome to recommend me to your family and friends.
